
Introduction
Embroidery has come a long way from hand-stitched patterns to fully automated machine embroidery. One of the most critical aspects of machine embroidery is DST digitizing. If you’re new to this process, you might be wondering what DST digitizing is and why it’s important.
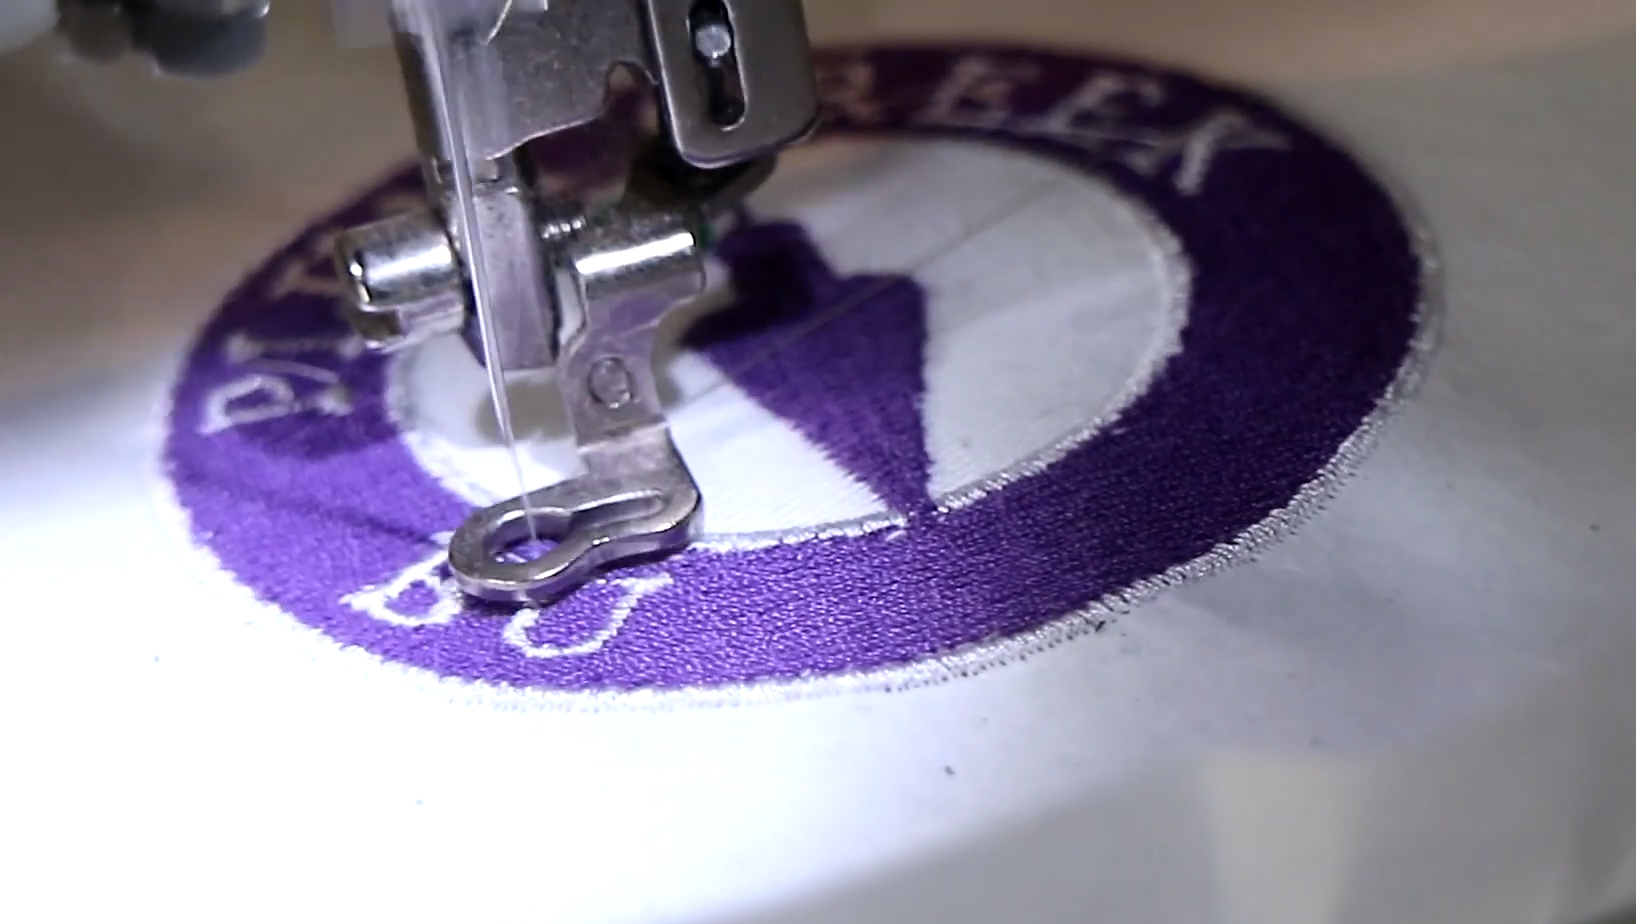
Simply put, DST digitizing is the process of converting a design or logo into a DST file, a format recognized by embroidery machines. This conversion ensures that every stitch is accurately placed, resulting in high-quality embroidered designs.
In this guide, we will demystify DST digitizing by explaining the process step by step, covering best practices, and sharing expert tips to help you achieve flawless embroidery results.
What is DST Digitizing?
DST digitizing refers to converting artwork or images into a DST (Data Stitch Tajima) file, which embroidery machines use to stitch designs onto fabric. The DST file contains stitch commands, coordinates, and settings that guide the embroidery machine in creating the design.
Why is DST Format Important?
-
Machine Compatibility – The DST format is widely accepted by embroidery machines, ensuring seamless operation.
-
Precision and Accuracy – It dictates the exact placement of stitches, avoiding misalignment.
-
Consistent Stitching – A properly digitized DST file ensures uniform stitches throughout the design.
How Does DST Digitizing Work?
To understand the DST digitizing process, let’s break it down into simple steps:
1. Choosing the Right Design
Before digitizing, you need a high-quality image or vector file of your design. Formats like PNG, JPG, or AI work best. Avoid blurry or pixelated images, as they may lead to poor digitization results.
2. Using Digitizing Software
Specialized software such as Wilcom, Pulse, or Hatch is used to convert the image into a DST file. These programs allow you to:
-
Set stitch types (satin, fill, running stitches).
-
Define stitch density and direction.
-
Adjust underlay settings for better stability.
3. Assigning Stitch Types
Different areas of the design require different stitch types:
-
Satin stitches – Ideal for text and outlines.
-
Fill stitches – Best for large, solid areas.
-
Running stitches – Used for fine details and underlays.
4. Adjusting Stitch Density & Direction
Proper stitch density ensures durability and prevents fabric distortion. Adjusting stitch direction also helps avoid excessive pulling of fabric.
5. Previewing and Testing
Before finalizing, a virtual simulation of the design is checked for errors. A sample stitch-out is done on fabric to ensure everything looks as expected.
Common Mistakes in DST Digitizing (And How to Avoid Them)
Even experienced digitizers can run into issues. Here are some common mistakes and how to fix them:
1. Using Low-Resolution Images
-
Issue: Poor-quality images lead to jagged, unclear embroidery.
-
Solution: Use high-resolution vector files (AI, EPS) for the best results.
2. Incorrect Stitch Density
-
Issue: Too much density can cause thread breakage; too little can make embroidery look thin.
-
Solution: Adjust stitch density based on fabric type.
3. Ignoring Underlay Stitches
-
Issue: Without proper underlay, stitches may shift or sink into the fabric.
-
Solution: Apply appropriate underlay stitching to stabilize the design.
4. Overcomplicating the Design
-
Issue: Excessive details may not translate well into embroidery.
-
Solution: Simplify small details to maintain clarity.
Best Practices for Flawless DST Digitizing
To get professional-quality embroidery, follow these best practices:
1. Select the Right Fabric
Different fabrics behave differently under embroidery:
-
Cotton & Polyester – Works well with most designs.
-
Stretchy Fabrics – Require more stabilization.
-
Leather & Denim – Need strong underlays and lower stitch density.
2. Use High-Quality Threads
Choose durable and colorfast threads to maintain the longevity of your embroidery. Polyester and rayon are great options.
3. Adjust Pull Compensation
Some fabrics shrink during embroidery, causing misaligned stitches. Pull compensation ensures stitches remain in place.
4. Test Before Final Production
Always run a test stitch to catch any errors before mass production.
DST Digitizing Software: Which One Should You Use?
If you’re looking for the best DST digitizing software, here are some popular choices:
| Software | Features | Best For |
|---|---|---|
| Wilcom | Advanced digitizing tools, auto-tracing | Professionals |
| Hatch | User-friendly, customizable tools | Beginners & Experts |
| Pulse | Cloud-based, high precision | Business & Enterprise |
| Embird | Affordable, basic digitizing | Hobbyists |
| Ink/Stitch | Free, open-source | Beginners |
Each software offers different features, so choose based on your skill level and project needs.
Why Should You Learn DST Digitizing?
If you’re in the embroidery business or enjoy DIY embroidery, learning DST digitizing can:
-
Save Costs – Reduce outsourcing expenses.
-
Improve Quality – Gain full control over embroidery outcomes.
-
Expand Creativity – Customize your designs without limitations.
Whether you're a small business owner, a fashion designer, or a hobbyist, mastering DST digitizing opens up new opportunities for professional embroidery production.
FAQs About DST Digitizing
1. What file format do embroidery machines use?
Most embroidery machines use DST, PES, EXP, or JEF formats, with DST being the most common.
2. Can I convert an image to a DST file automatically?
While auto-digitizing tools exist, manual digitizing ensures better quality and precision.
3. How much does professional DST digitizing cost?
The cost varies depending on design complexity, typically ranging from $10 to $50 per design.
4. Can I edit a DST file?
DST files are not easily editable. It’s best to keep the original working file (EMB, AI, or SVG) for future edits.
Conclusion
DST Digitizing Demystified: A Beginner’s Guide to Flawless Designs has taken you through the entire process, from understanding the basics to mastering advanced techniques. Whether you’re just starting or looking to refine your skills, following the right steps and avoiding common mistakes will lead to perfectly embroidered designs. Additionally, using a DST File Converter can streamline the process by allowing you to convert various design formats into DST, ensuring compatibility with embroidery machines and enhancing efficiency.
By choosing the right software, stitch settings, and fabric, you can create high-quality machine embroidery that stands out. Ready to start your digitizing journey? Get the right tools, experiment, and bring your embroidery designs to life!